Русский
 العربية
 Français
 Türkçe
 Română
 Português
 ქართული
 български
 Magyar
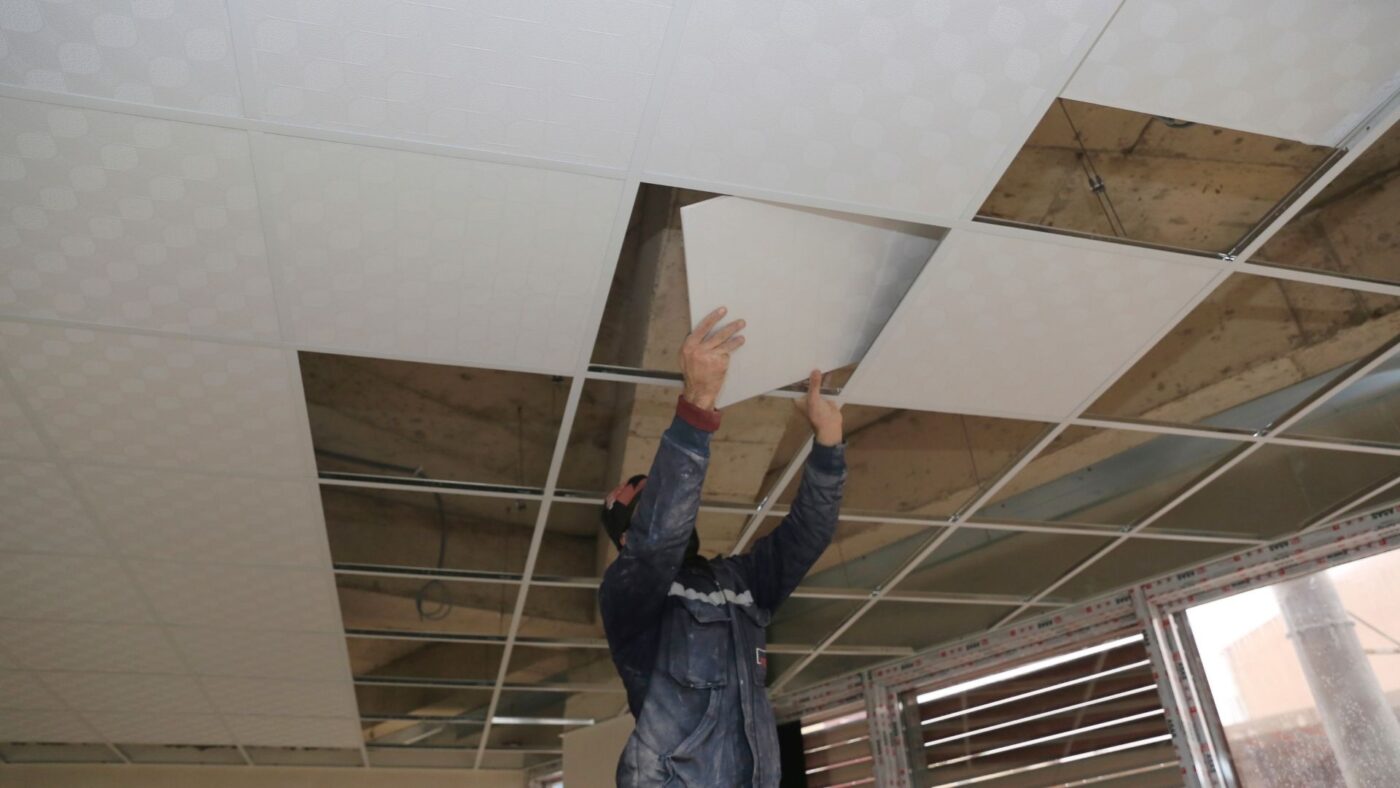
When making a suspended ceiling , it goes through many processes. These processes, which are difficult for some, can be seen as an easy system for others. Let’s examine how to make a suspended ceiling together. First of all, let’s get to know the materials we will use in the construction of suspended ceilings ;
- Ceiling C Profile
- Ceiling U Profile
- Hanger Rod(Attachment)
- Carrier Profile
- Ara Aparat
- Borazan Life(2.5 , 3 cm)
- Profile Cutting Scissors
- Dowel
- Dowel Fixing Screw
- Miter
- Spirit Level
- Drill
- Utility Knife
Let’s examine the construction of the suspended ceiling step by step ;
Stage 1
- The space where you will apply the suspended ceiling is primarily planned.
- Then the measurement is taken with the help of a meter.
- Provided that the gaps of the grid to be laid are not too small, it is laid evenly.
- Apply from one end to the other, fitting the grid to be laid.
- If there are areas with tiles, plan them so that they do not come to the tiles.
- Leave a space of 10-15 cm from the area where you took the measure (this space is left for the location of the fixtures and tiles)
- Cut the ceiling profiles you will use with the profile cutting scissors in accordance with the dimensions of the space you receive with the help of the meter.
- If you have a corner protruding from your wall, cut the wall angles to those walls 1 ⁄ 2 inches (1.3 cm) longer than your measurements.
- In cases where the ceiling profiles are short, you can combine them by using the intermediate apparatus.
- Screw the profiles tightly with the help of a drill in accordance with the dimensions you have taken.
- The most important thing to pay attention to during assembly is that the profiles are flat.
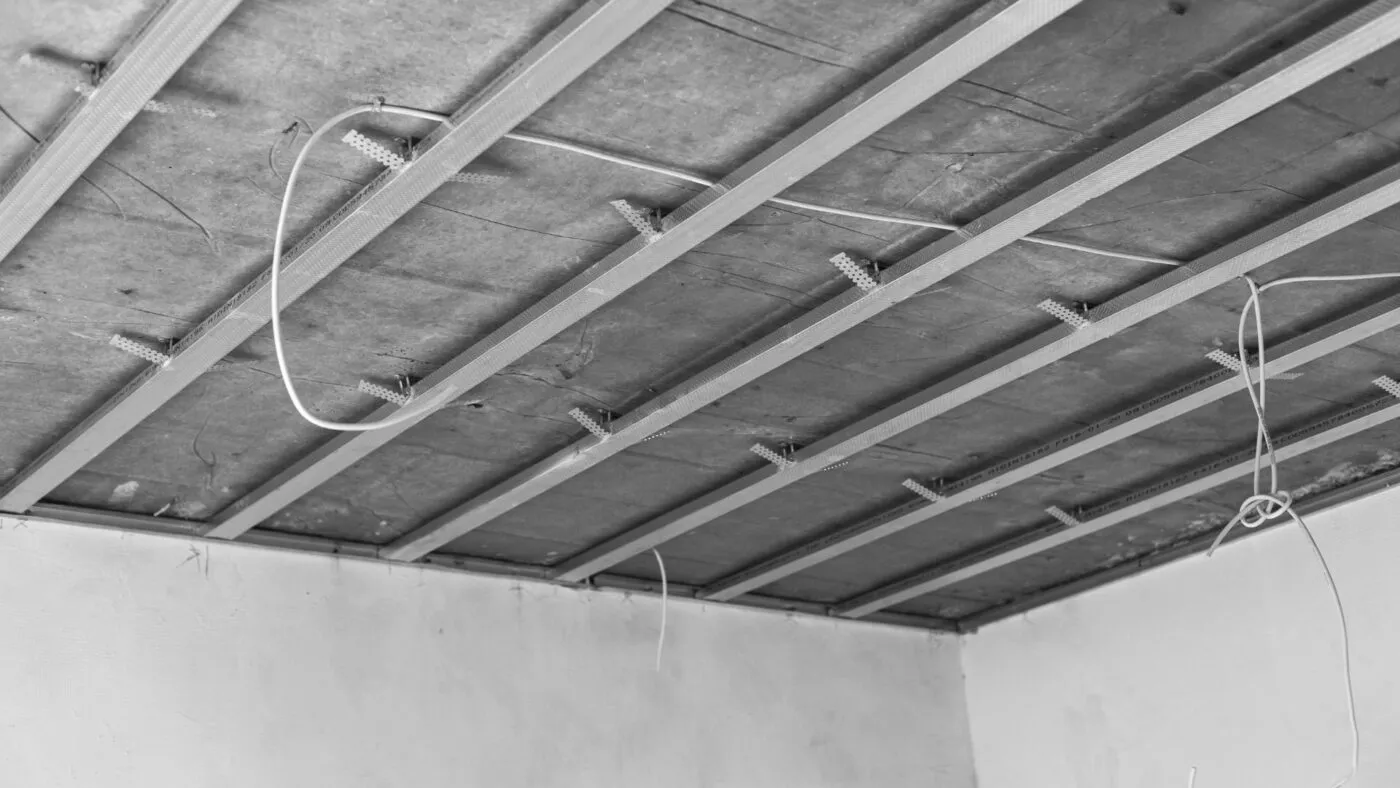
Stage 2
- Cut the rails you have laid in line with your measurements, perpendicular to the beams, using scissors.
- The rails you install are strong enough to support the weight of the ceiling.
- Tie a rope, leaving 1-2 meters between them.
- Do the rope tying application to the entire ceiling
- Screw in every third beam along the string you have tied.
- Continue the screwing process along the ceiling to be applied.
- Pass wires through the hole at the head of your screw.
- The length of the wire should be about 20 – 25 cm.
- Thread the wire through the hole about 5 – 6 cm and bend it with pliers so that it is facing down.
- Install perpendicular to the grid by clipping the secondary rails
- Lay out all the secondary rails so that they go into the main rail.
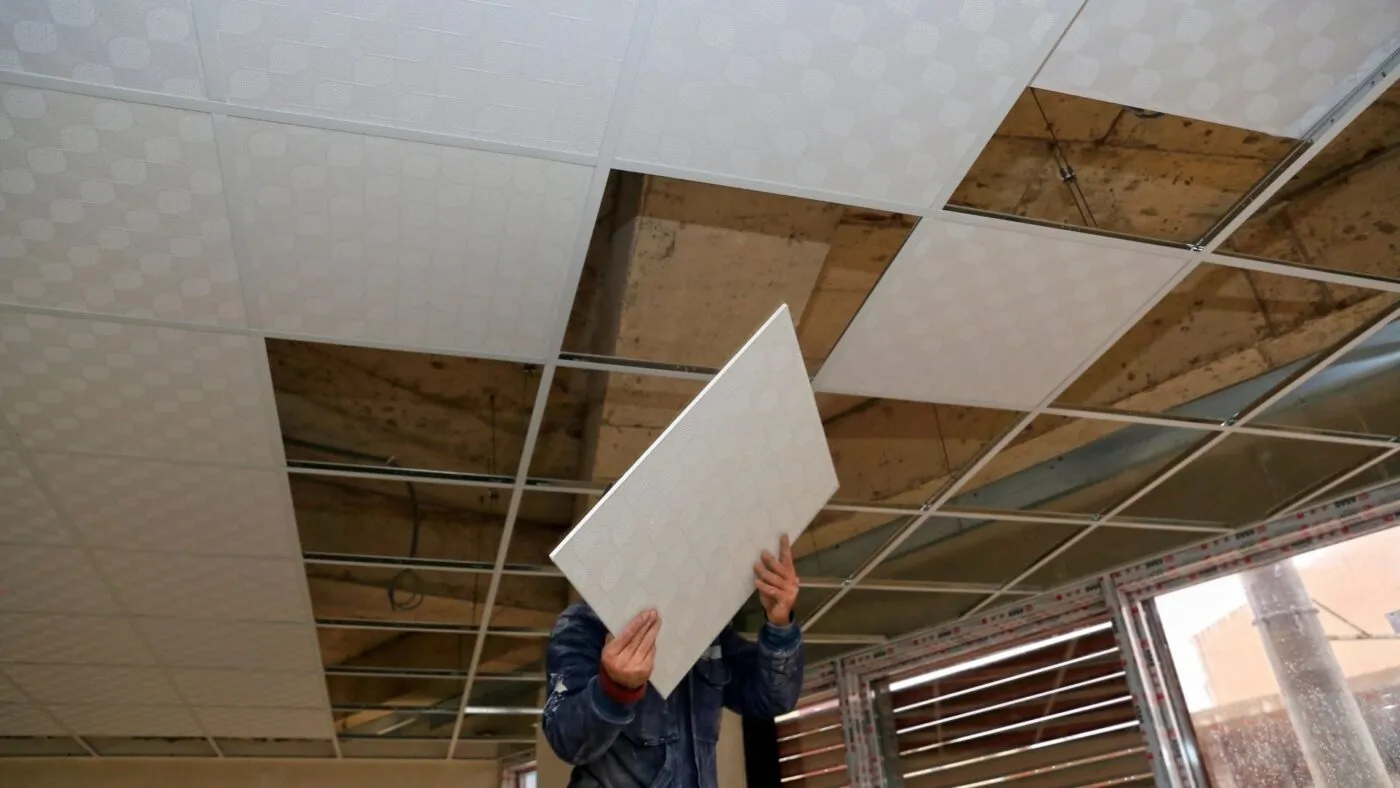
Stage 3
- If you are going to make the suspended ceiling illuminated, drill holes in the plaster at the desired intervals for duct work.
- Shape the tiles you cut from the edges to fit the suspended ceiling
- Starting in the center of the ceiling, work towards the edges of the ceiling
- When installing the tiles, make sure you are fully seated.