
 Русский
 العربية
 Français
 Türkçe
 Română
 Português
 ქართული
 български
 Magyar
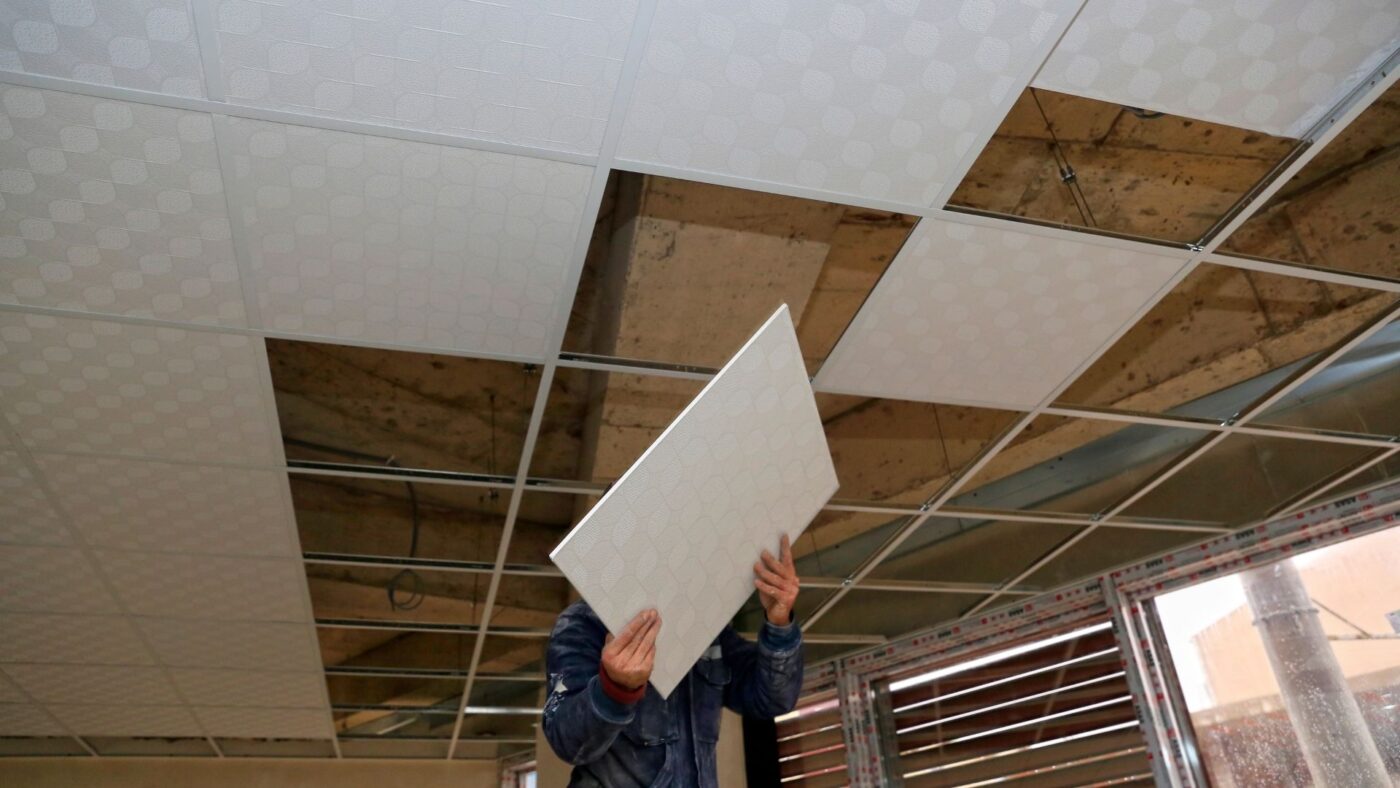
Suspended ceiling, also known as a drop ceiling or false ceiling, is an innovative and practical solution for enhancing the aesthetics and functionality of indoor spaces. This versatile ceiling system has gained immense popularity due to its ability to hide wiring, ductwork, and plumbing while offering easy access for repairs and maintenance. If you’re considering upgrading your interior, a suspended ceiling can be an ideal option. In this comprehensive blog post, we will guide you through the step-by-step process of installing a suspended ceiling, covering everything from planning and material selection to installation techniques and finishing touches.
Understanding Suspended Ceilings
- What is a suspended ceiling?
- Advantages and applications of suspended ceilings
- Types of suspended ceiling systems
Pre-Installation Planning
- Assessing the space and determining the ceiling’s purpose
- Estimating the material and cost requirements
- Acquiring necessary permits and permissions
Material Selection
- Ceiling tiles: Different materials and designs
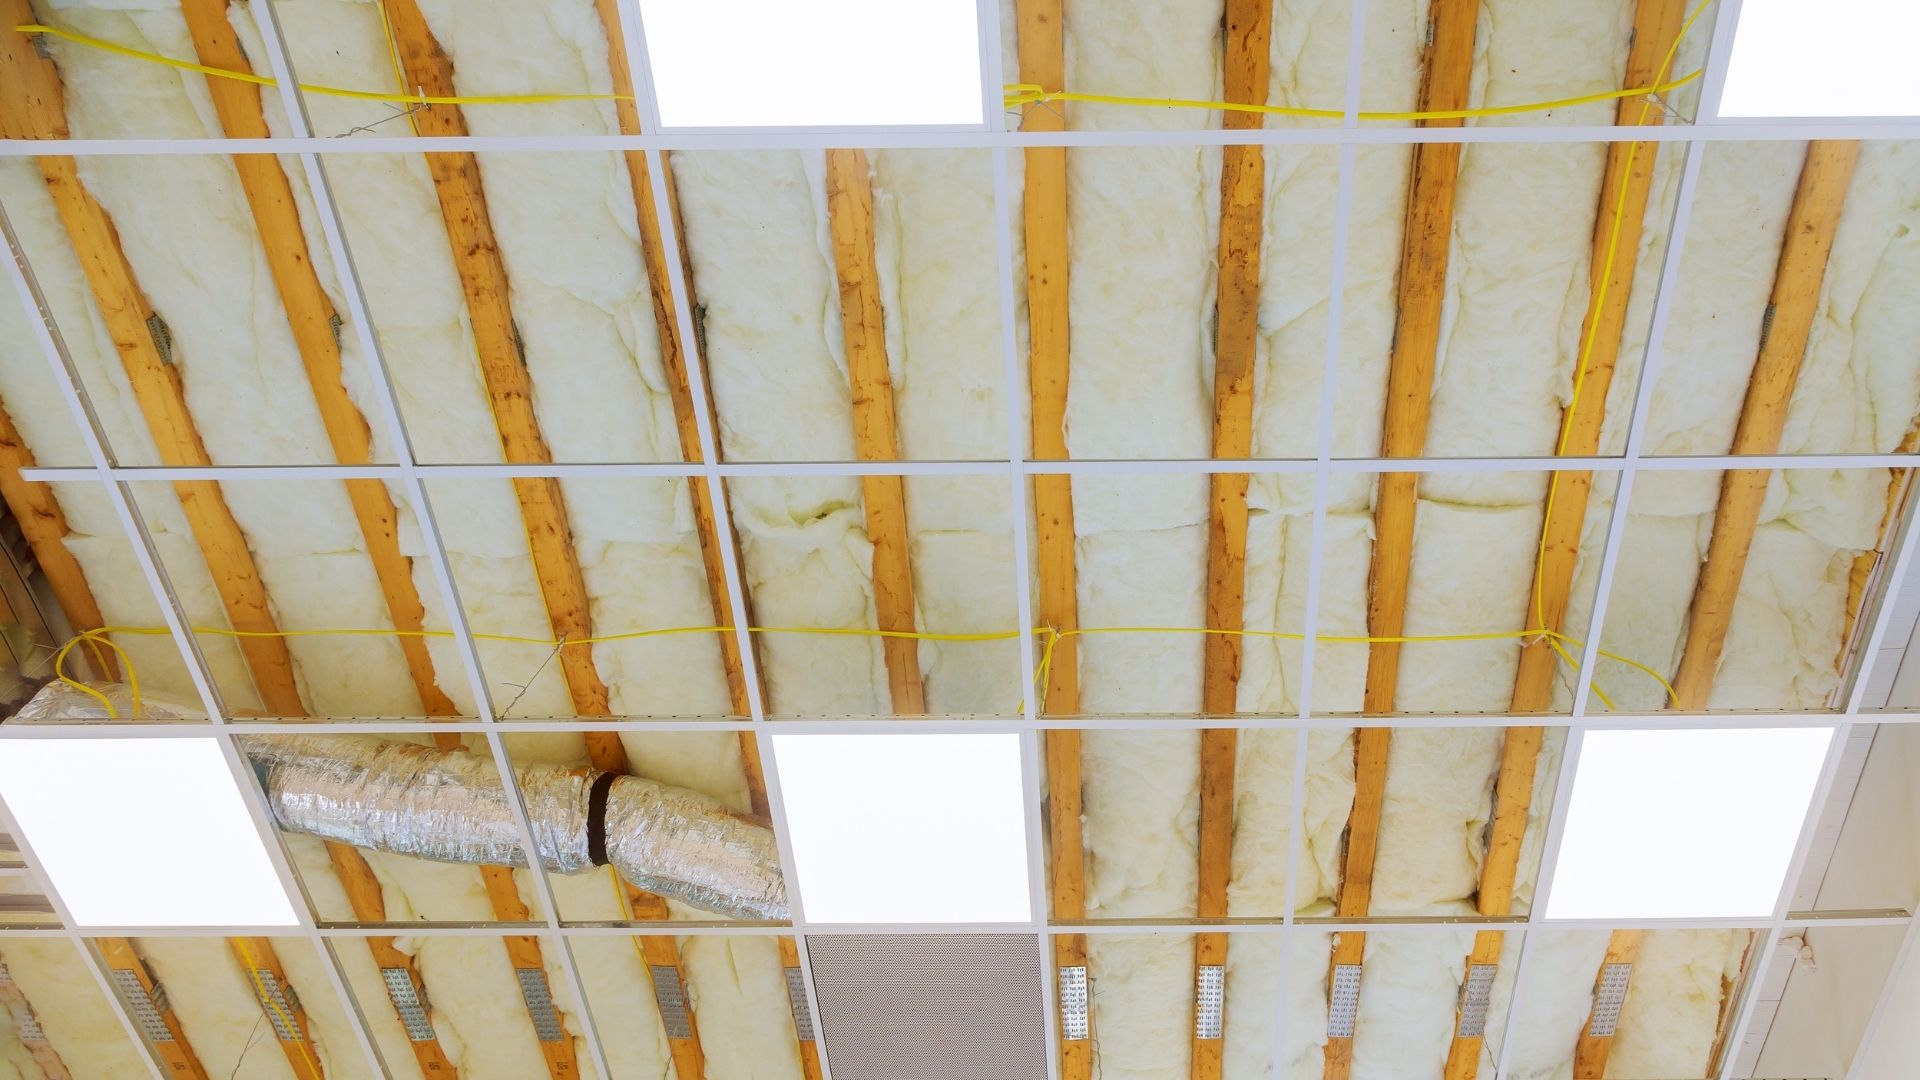
- Suspended ceiling grids: Types and profiles
- Additional components: Insulation, lighting, and soundproofing options
Tools and Equipment
- Essential tools for suspended ceiling installation
- Safety precautions during the installation process
Installation Process
- Marking reference lines and determining grid layout
- Installing suspension wires and hangers
- Assembling and installing the main tees and cross tees
- Placing and securing the ceiling tiles
Tips for a Professional Finish
- Cutting tiles and adapting them to irregular shapes
- Ensuring level and uniform installation
- Concealing joints and gaps for a seamless appearance
Incorporating Lighting and Other Fixtures
- Recessed lighting installation
- Ceiling fan integration
- Incorporating HVAC vents and sprinkler systems
Maintenance and Repairs
- Cleaning and caring for suspended ceilings
- Addressing common issues and performing repairs
Creative Ideas for Suspended Ceilings
- Accentuating the space with decorative tiles and patterns
- Utilizing suspended ceilings for acoustical improvements
With a well-executed suspended ceiling installation, your indoor space can be transformed into an elegant and functional environment. By following the guidelines outlined in this blog post, you’ll be equipped with the knowledge and understanding required to undertake this project successfully. Remember, a carefully planned and professionally installed suspended ceiling can significantly enhance the value of your property while creating a welcoming and visually appealing atmosphere for years to come. So, get ready to elevate your interior design with the magic of suspended ceilings!
How to Install Ceiling Tiles
Ceiling tiles are an excellent way to enhance the aesthetics of a room while also providing practical benefits such as sound insulation and temperature control. Installing ceiling tiles can be a rewarding DIY project, but it requires careful planning and execution. In this guide, we’ll walk you through the step-by-step process of installing ceiling tiles to achieve a professional and visually appealing result.
- Pre-Installation Preparation:
a. Determine the Ceiling Type: Before proceeding, identify the type of ceiling you have. Common types include drywall, plaster, and suspended ceilings. Each type may require different installation methods.
b. Measure the Ceiling Area: Measure the length and width of the ceiling to calculate the total square footage. This will help you determine how many ceiling tiles you’ll need for the project.
c. Gather the Necessary Tools and Materials: Prepare the tools and materials required for the installation, which may include ceiling tiles, adhesive, measuring tape, level, utility knife, safety goggles, and a ladder.
- Planning the Layout:
a. Choose the Right Ceiling Tiles: Select ceiling tiles that complement the room’s design and meet your functional requirements. There are various styles, materials, and sizes available in the market.
b. Decide on the Tile Placement: Plan the layout of the ceiling tiles. It’s common to start the installation from the center of the room for a symmetrical appearance.
- Installing the Ceiling Tiles:
a. Clean the Ceiling Surface: Ensure that the ceiling surface is clean, dry, and free from any debris. Use a damp cloth to wipe away dust and dirt.
b. Apply Adhesive or Install the Grid (for Suspended Ceilings): If you have a drywall or plaster ceiling, apply adhesive to the back of the tiles and press them firmly onto the ceiling surface. For suspended ceilings, install the support grid according to the manufacturer’s instructions before placing the tiles.
c. Cutting Ceiling Tiles: When reaching the edges or around light fixtures, you may need to cut tiles to fit. Measure carefully and use a utility knife or a specialized tile cutter to make precise cuts.
d. Ensure Level Installation: Use a level to ensure that the tiles are installed evenly and in a straight line. This will prevent any unevenness or crooked appearance.
e. Continue Tile Installation: Continue installing tiles, working outwards from the center, until the entire ceiling area is covered.
- Finishing Touches:
a. Caulking: Inspect the edges and seams of the installed tiles. Apply caulk to any gaps or joints to create a seamless appearance.
b. Painting (optional): If you wish to change the color of the ceiling tiles, allow the adhesive or caulk to dry completely before painting them. Use a paint specifically designed for ceiling tiles.
Installing ceiling tiles can be a fulfilling DIY project that transforms the look and feel of any room. With careful planning and attention to detail, you can achieve professional-looking results. Follow this step-by-step guide to ensure a successful ceiling tile installation and enjoy the benefits of an enhanced living space. Remember to prioritize safety during the process and seek professional assistance if needed.